Silkscreen
Dernière mise à jour : 24 nov. 2025
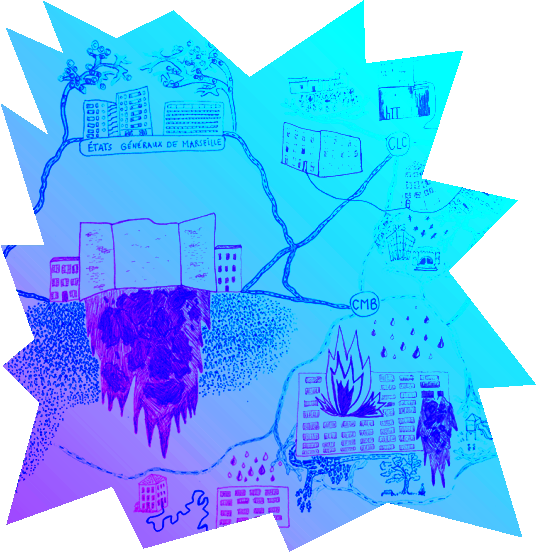
To highlight the illustrations, we selected three sites and printed them using screen printing during an introductory workshop at a printing house in Marseille (southern France). Afin de mettre en valeur les illustrations, nous avons choisi trois sites et les avons imprimées en sérigraphie lors d’une initiation dans une imprimerie à Marseille (sud de la France).
Screen printing tutorial Tuto sérigraphie
Print the illustration in bichromy on tracing paper in the highest possible quality, as a PDF or JPEG file. Imprimer l’illustration en bichromie sur un papier calque dans la meilleure qualité possible, en PDF ou en JPEG.

Then place the tracing paper on a glass pane positioned above a UV lamp. Placer ensuite le calque sur une vitre, posée au-dessus d’une lampe UV.

Set down a frame with a stretched fabric, previously coated with photographic emulsion and left to dry. Cover everything with a thick blanket, then place a support on the frame to keep it firmly in place. Turn on the UV lamps to expose the design. Let the lamp run for a few seconds: between 1 and 2 minutes in our case. Déposer un cadre muni d’un tissu tendu, préalablement enduit d’émulsion photographique et bien sec. Recouvrir le tout d’une couverture épaisse, puis poser un support sur le cadre pour bien le fixer. Allumer les lampes UV afin de procéder à l’insolation du motif. Laisser la lampe allumée quelques secondes : 1 à 2 minutes dans notre cas.

Carefully rinse the frame to reveal the design in negative. Rincer soigneusement le cadre pour faire apparaître le motif en négatif.

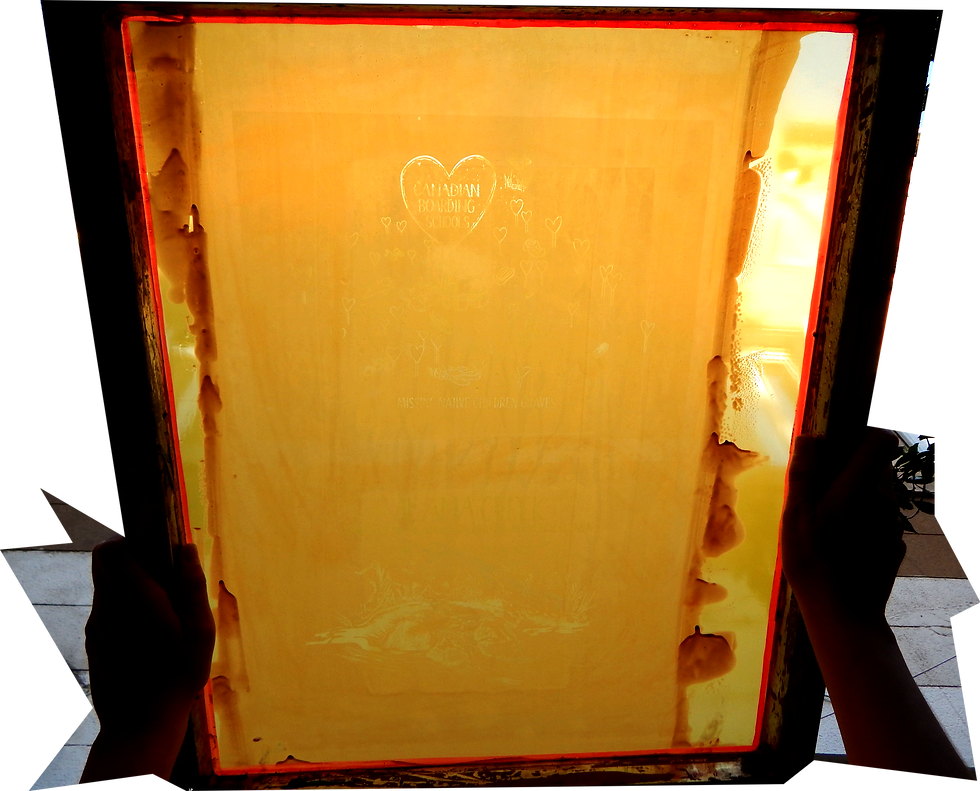
Prepare the inks by mixing them with a drying retarder until you get the texture of a thick chocolate cream. Préparer les encres en les mélangeant avec un retardateur de séchage jusqu’à obtenir la texture d’une crème au chocolat épaisse.

Carefully position the frame and secure it to a vacuum table. The suction through the small holes in the table keeps the paper firmly in place. Add alignment marks to ensure each sheet is well positioned so that the illustrations are straight. Placer minutieusement le cadre et le bloquer sur une table à aspiration. L’aspiration, grâce aux petits trous de la table, permettra aux papiers de rester bien fixés. Placer des repères pour bien positionner chaque feuille, afin que les illustrations soient droites.

Spread the ink, and using a squeegee, push it across the frame to print the design onto the paper placed underneath. Let it dry. Étaler l’encre, puis, à l’aide d’un racloir, la faire passer sur le cadre pour imprimer le motif sur le papier situé dessous. Laisser sécher.

Now it’s your turn! You need to be methodical, quick so that the ink doesn’t dry, and well-coordinated as a team. There were three of us: one person selected the colored papers and placed them under the frame; another spread the ink on the frame — with paint-covered fingers, that person had to be careful not to touch the papers; finally, a third person removed the printed sheets and set them to dry. À vous de jouer maintenant ! Il faut être méthodique, rapide pour éviter que l’encre ne sèche, et bien coordonné en équipe. Nous étions trois : une personne choisissait les papiers de couleur et les plaçait sous le cadre ; une autre étalait l’encre sur le cadre — avec les doigts pleins de peinture, elle ne devait surtout pas toucher aux papiers ; enfin, une troisième retirait les papiers imprimés et les faisait sécher.

We chose to vary the ink and paper colors to create unique pieces! Nous avons choisi de varier les couleurs d’encre et de papier afin de créer des pièces uniques !

Illustrations: © Néïs Demellier, Emma Capon